How to use
Learn about how you can use your wallet in the most effective way.
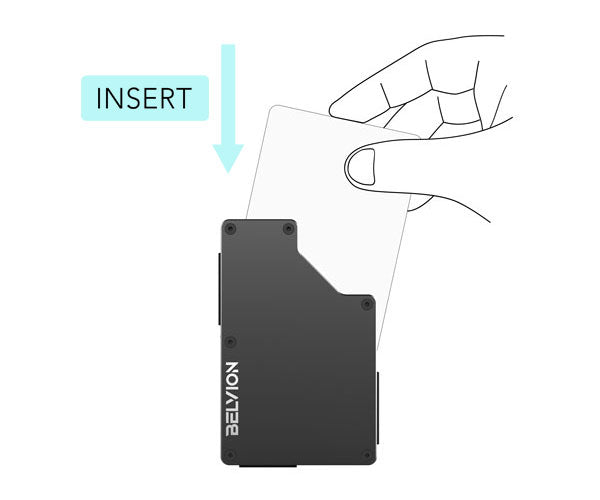
How to put cards in the wallet
Insert your cards and money between the plates of the wallet from the TOP SIDE.
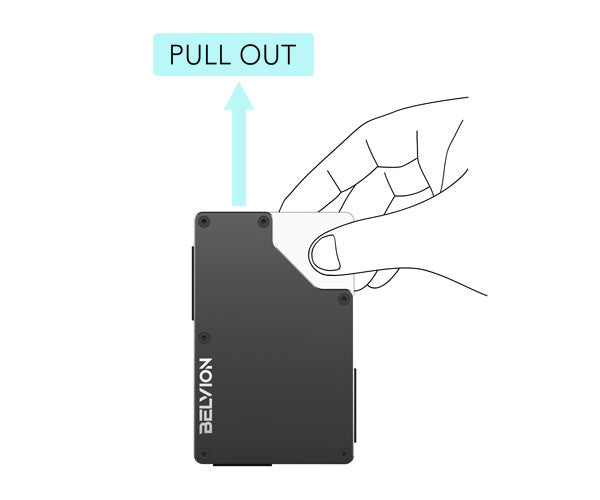
How to take the cards out
To remove the cards, gently grasp the cards located at the top right CUT-OUT of the wallet using your thumb and index finger. Pull them out smoothly and efficiently. Whether you choose to extract all the cards simultaneously or opt for removing only the front or back card, this method ensures a quick and convenient experience.
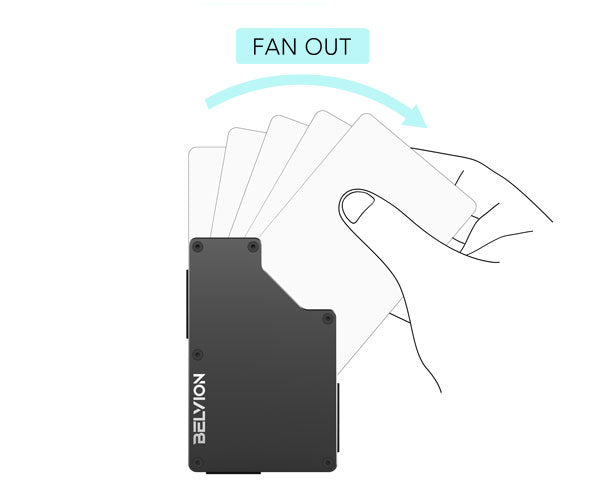
Easy methods for card selection
For optimal card selection, begin by partially pulling out all the cards from the wallet. Next, use your thumb to slide the front card to the side. This will create a well-spaced arrangement of cards, enabling you to easily locate and choose the required card.
How to customize
Discover the multitude of customizable options available for your Belvion wallet by exploring the hidden compartments behind the front and back plates.
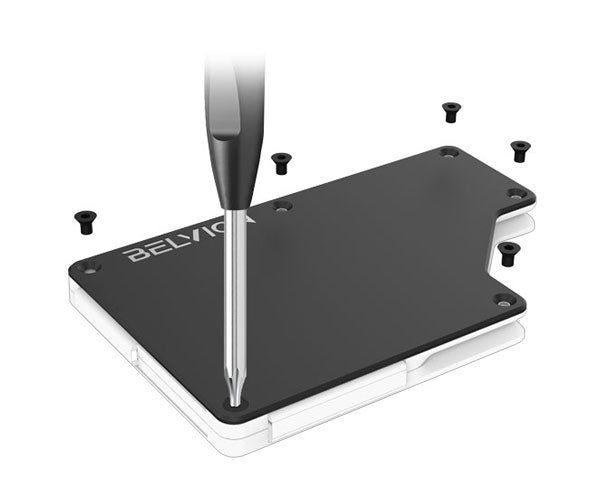
How to get to the adjustment plate
Use the hex screwdriver that you received it the box with your Belvion wallet and unscrew all the bolts from the front and back plate of the wallet to get accesses to both adjustment plates.
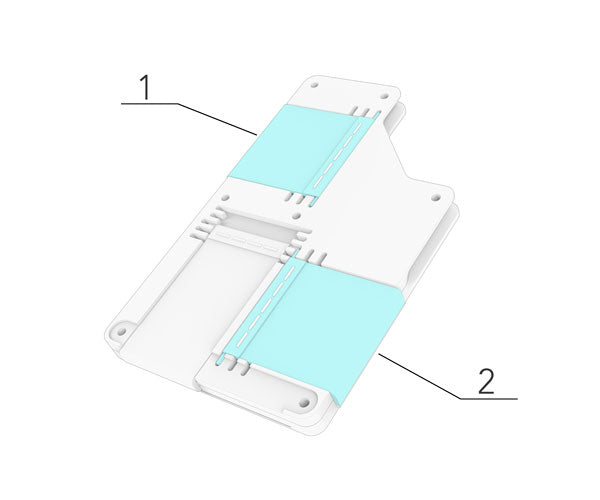
Adjust the capacity
In order to customize the number of cards your Belvion wallet can hold, simply detach the front plates from both sides and adjust the positions where the elastic bands 1 and 2 are hooked. By hooking the ends elastic bands to different grooves you can loosen or tighten the grip your wallet will exert on your cards.
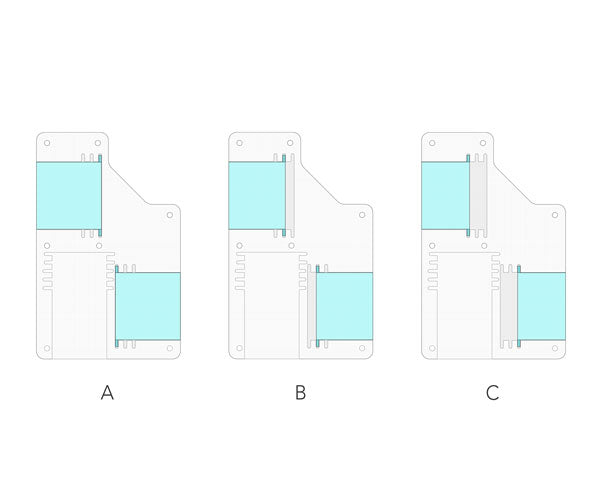
Positions for the elastic bands
To achieve an even grip for your cards and cash the top left and bottom right elastic band should always be positioned in the same groove. You can experiment by putting them in different groves to get an uneven grip distribution.
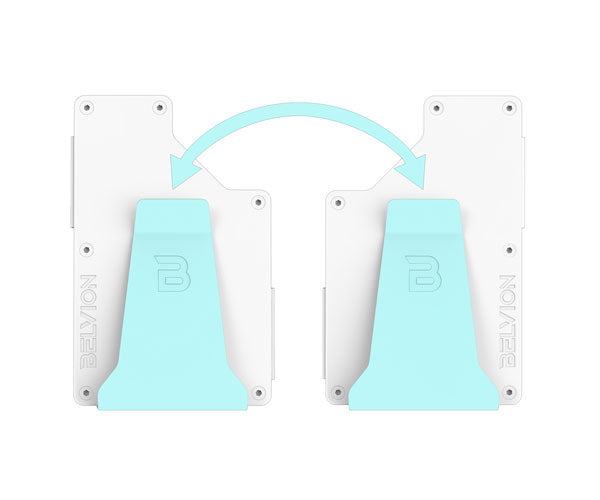
Money Clip Positioning
The money clip can be installed on ether side of the wallet. Just remove the front plate by unscrewing all the screws. Place the Money Clip at the bottom of the wallet in the making sure they fit snugly in their cutouts and securely re-screw each bolt, ensuring they are evenly tightened.
